
It’s no secret that I’m a HUGE fan of Instagram. I love scrolling through beautiful photos of beautiful things (usually sewing and/or travel related), and I love how easy it is to interact with the brands you love. So, you can imagine how flattered I was when the woman behind one of my favourite accounts got in touch with *me* to see if I’d be interested in testing her latest pattern. HELL YEAH!
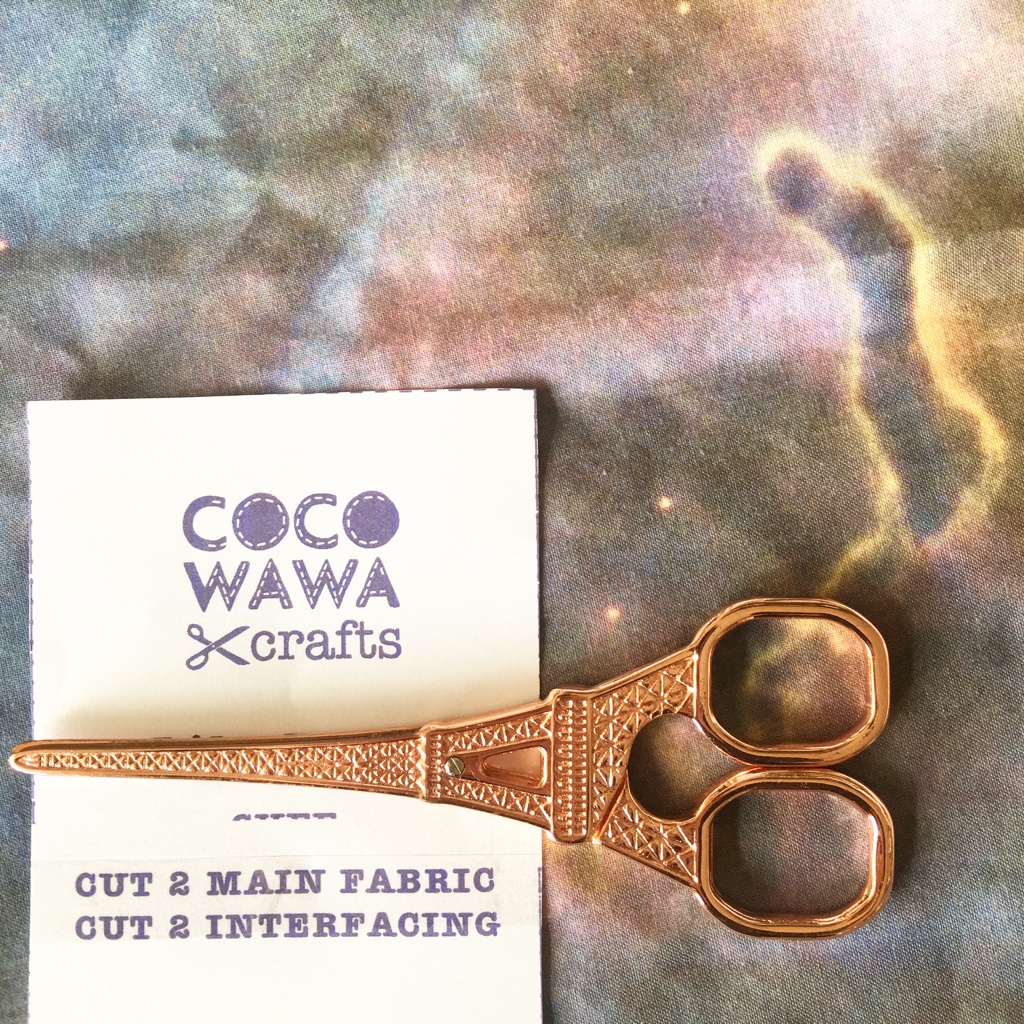
Ana from CocoWawa Crafts is originally from Spain, and she sells fabric that brightens up even the most dreary British days. Last year she launched her first dressmaking pattern which is insanely popular (check out the #MarshmallowDress hashtag on Instagram!), and her next pattern, Lily, was released today!
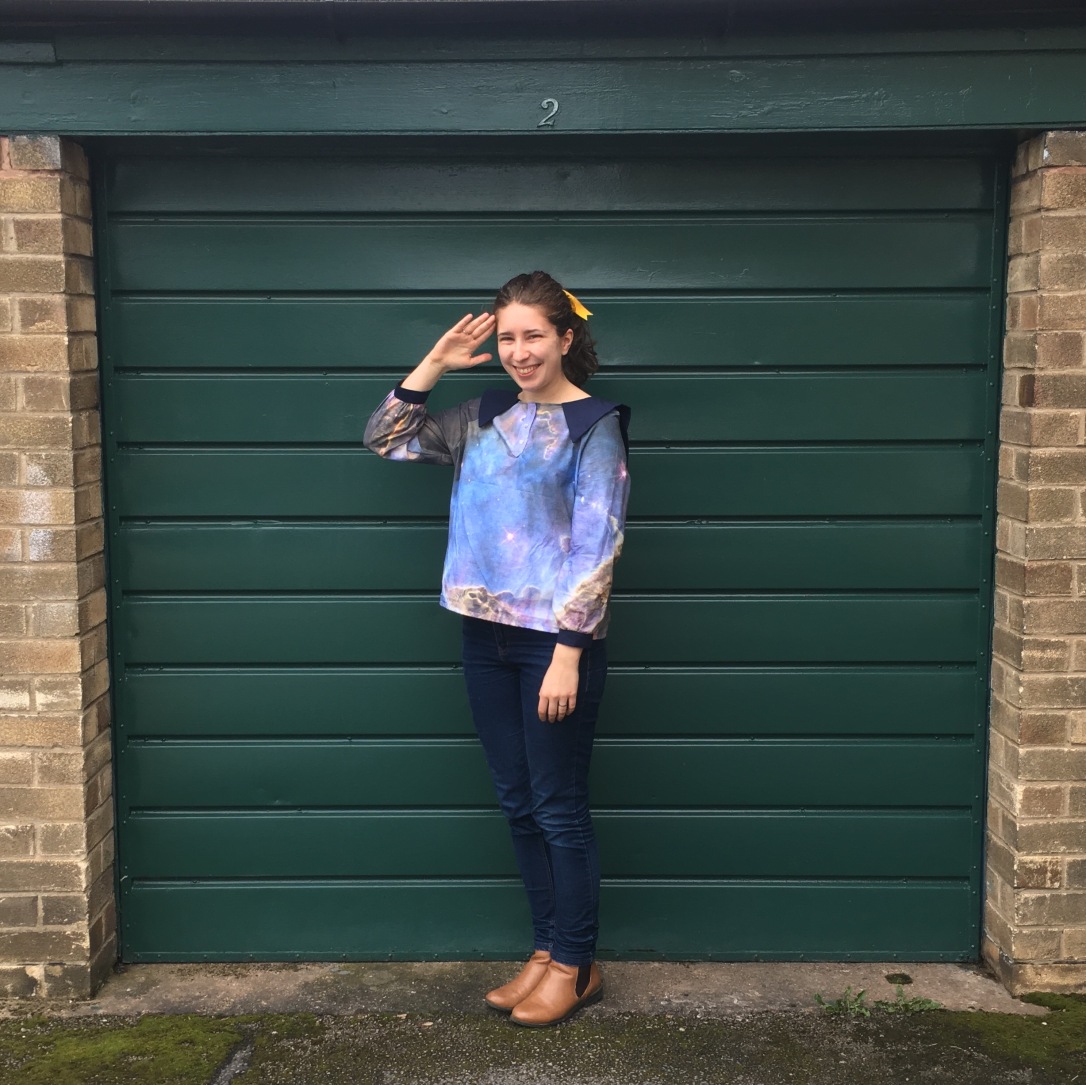
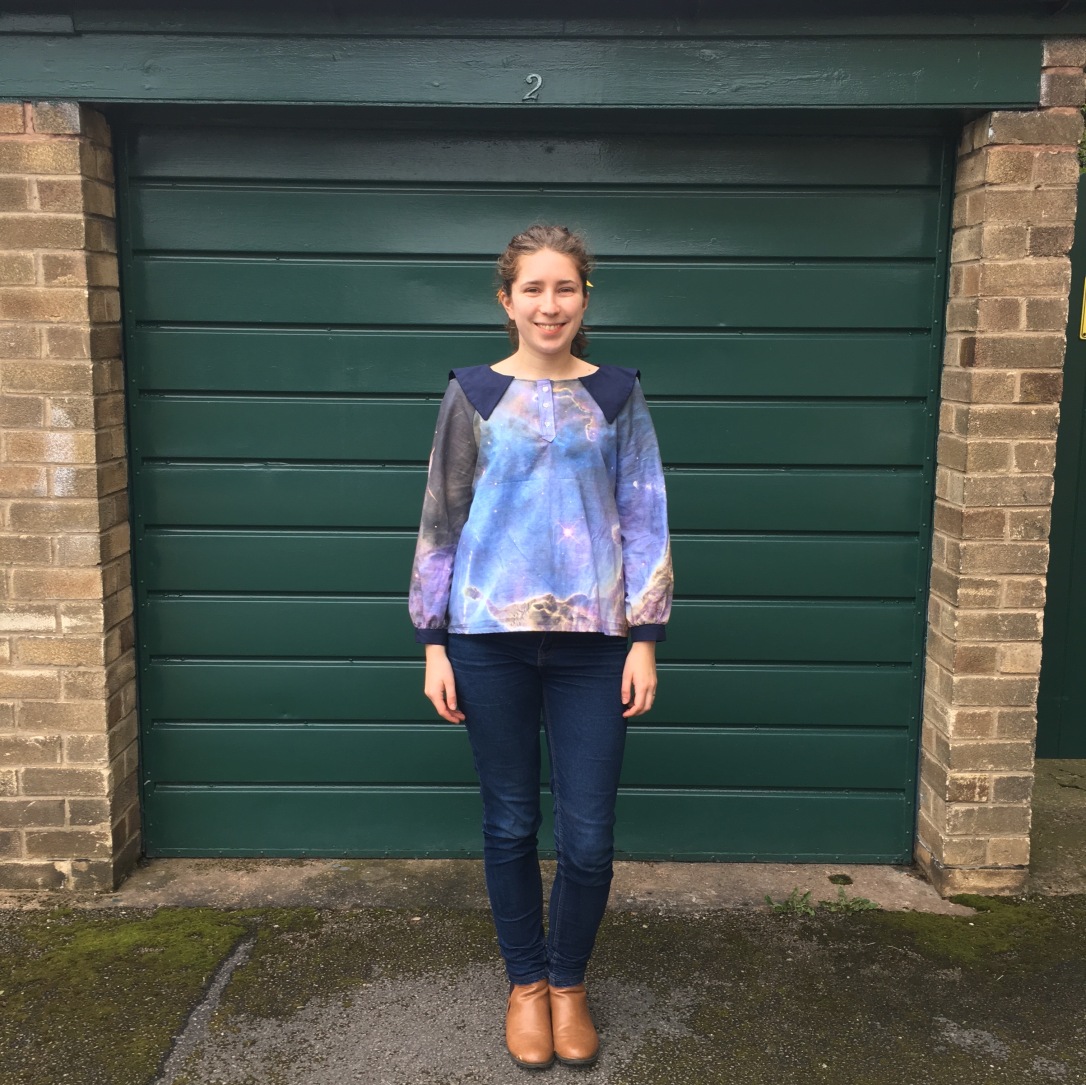
Lily features a sailor collar (how did I live without this in my life?!) and can be made as either a dress with pockets, or a blouse. I chose to make the blouse because that fills a gap in my wardrobe, but I decided to add the pockets anyway because I’ll accidentally lock myself out of my office if I don’t have somewhere to put my keys. I used the last of my custom printed nebula fabric from Woven Monkey for the body of the blouse, with a navy collar and navy cuffs. I used some heart-shaped shell buttons for the placket, which go SO WELL with the brighter parts of the nebula (star forming regions, if you were wondering).
So, the pattern: Ana sent some preview photos of the dress and blouse to all the pattern testers so we could get a vague idea of how it should look. The fabric I chose is a little on the stiff side, so I decided to cut a smaller size than I normally would, just so the blouse wouldn’t feel too voluminous once it was finished. Ana provides the finished garment measurements as well as the approximate ‘dress sizes’, so I could make sure that the smaller size would still fit me.
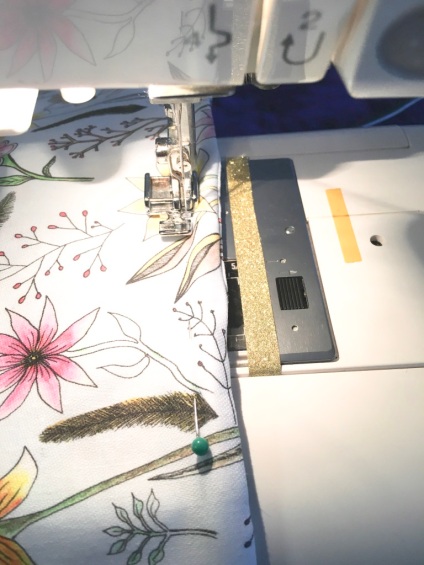
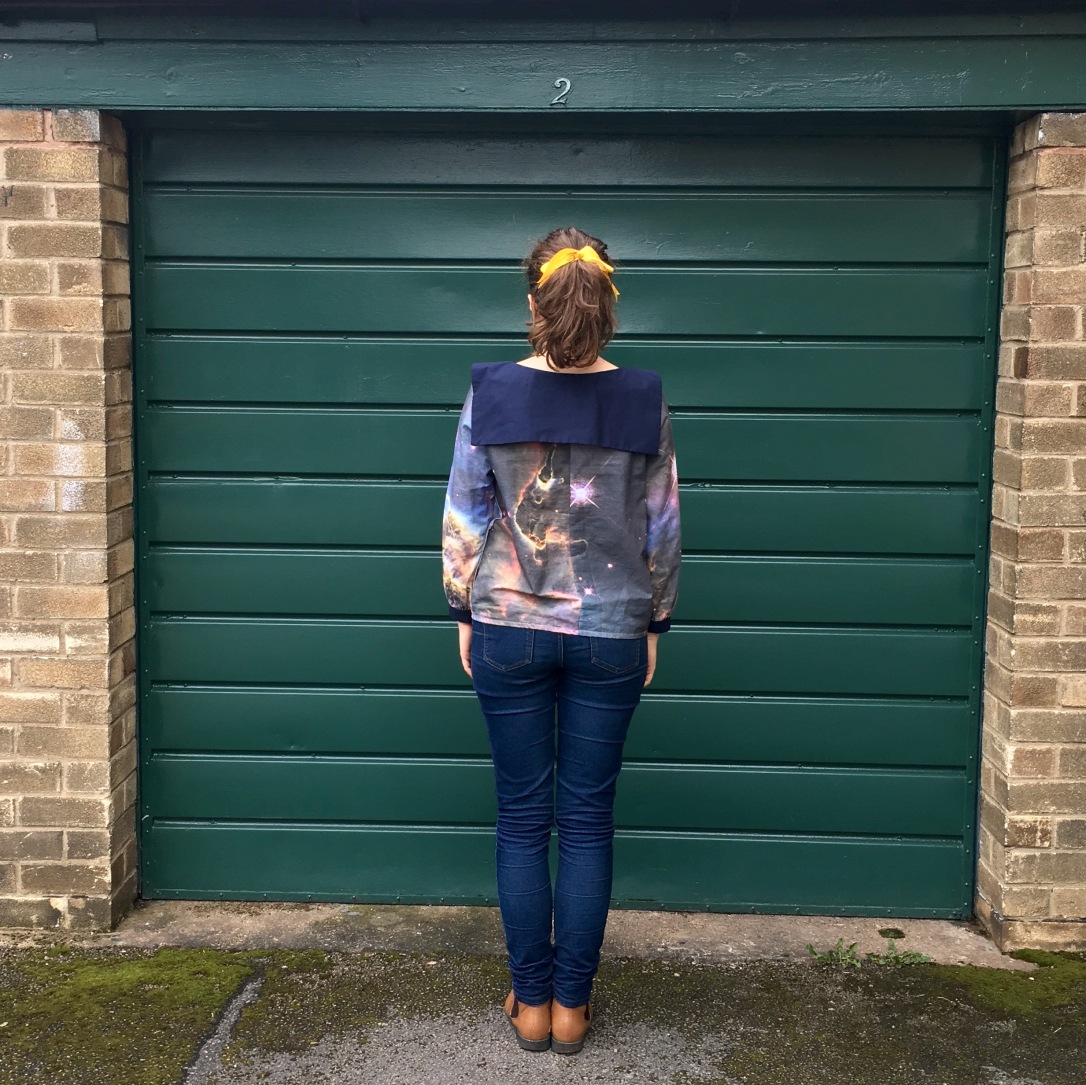
The blouse is constructed with raglan sleeves and the back is made up of two pieces, which means that around the neck of the garment there are 5 seams + a button placket (literally the most adorable feature ever). The seam allowances on the pattern are fairly narrow at 3/8″, so I was sure to be very careful when using the gauge on my sewing machine. I didn’t realise until afterwards (when I was attaching the collar) that the markings are different on the metal plate my machine and on the plastic spool guard! I normally sew with a 5/8″ seam allowance which I carefully measured and taped on years ago, so I completely forgot to double check the measurements for 3/8″. Duh! This meant that any mistake in the seam allowance width was magnified 5x because of the number of seams around the neck, and I ended up with a neck that was quite a bit wider than desired. Totally my fault, but one to watch out for if you’re used to using a different seam allowance!
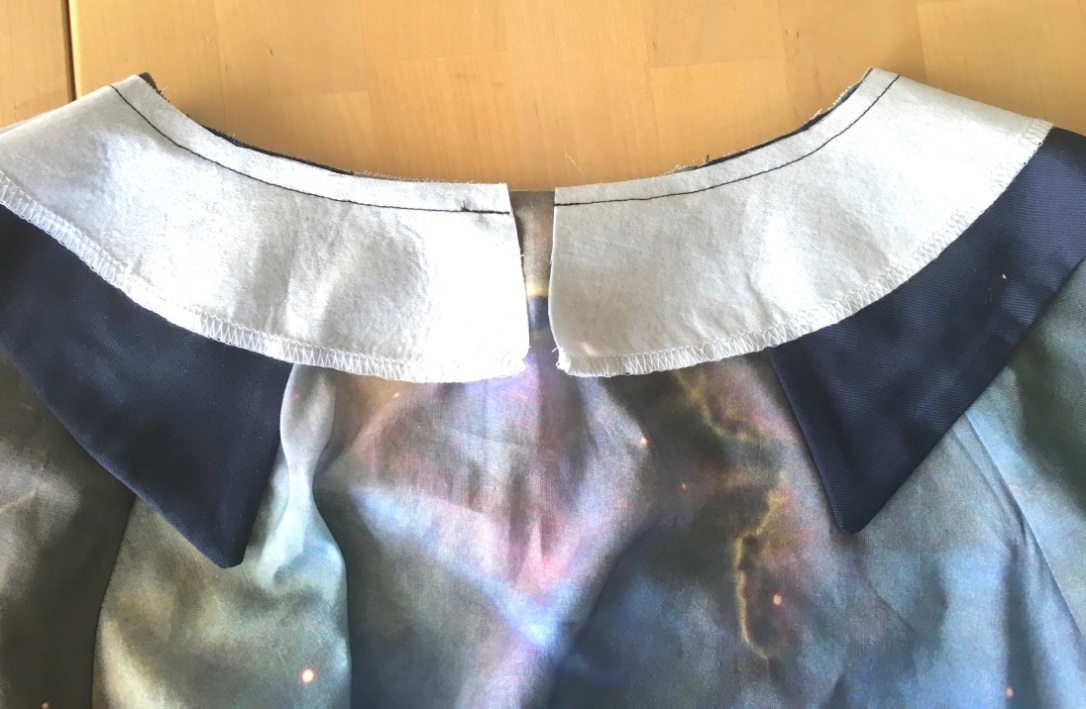
Here’s a close up of the body, collar, and facing before I understitched it all into submission:
As I mentioned before, the pattern also features a button placket. I LOVE PLACKETS! I’d switch out a lapped cuff for a tower placket any day. And now I have a pattern piece to add central plackets on all my tops! Hooray!
The placket itself was a little fiddly to make, just like most plackets, but the instructions were clear and once I’d got my head around the geometry of the situation I was totally fine. I even placed the pattern on the fabric so there’s a sneaky bit of star formation behind the button band, should I decide to wear it open in the summer.

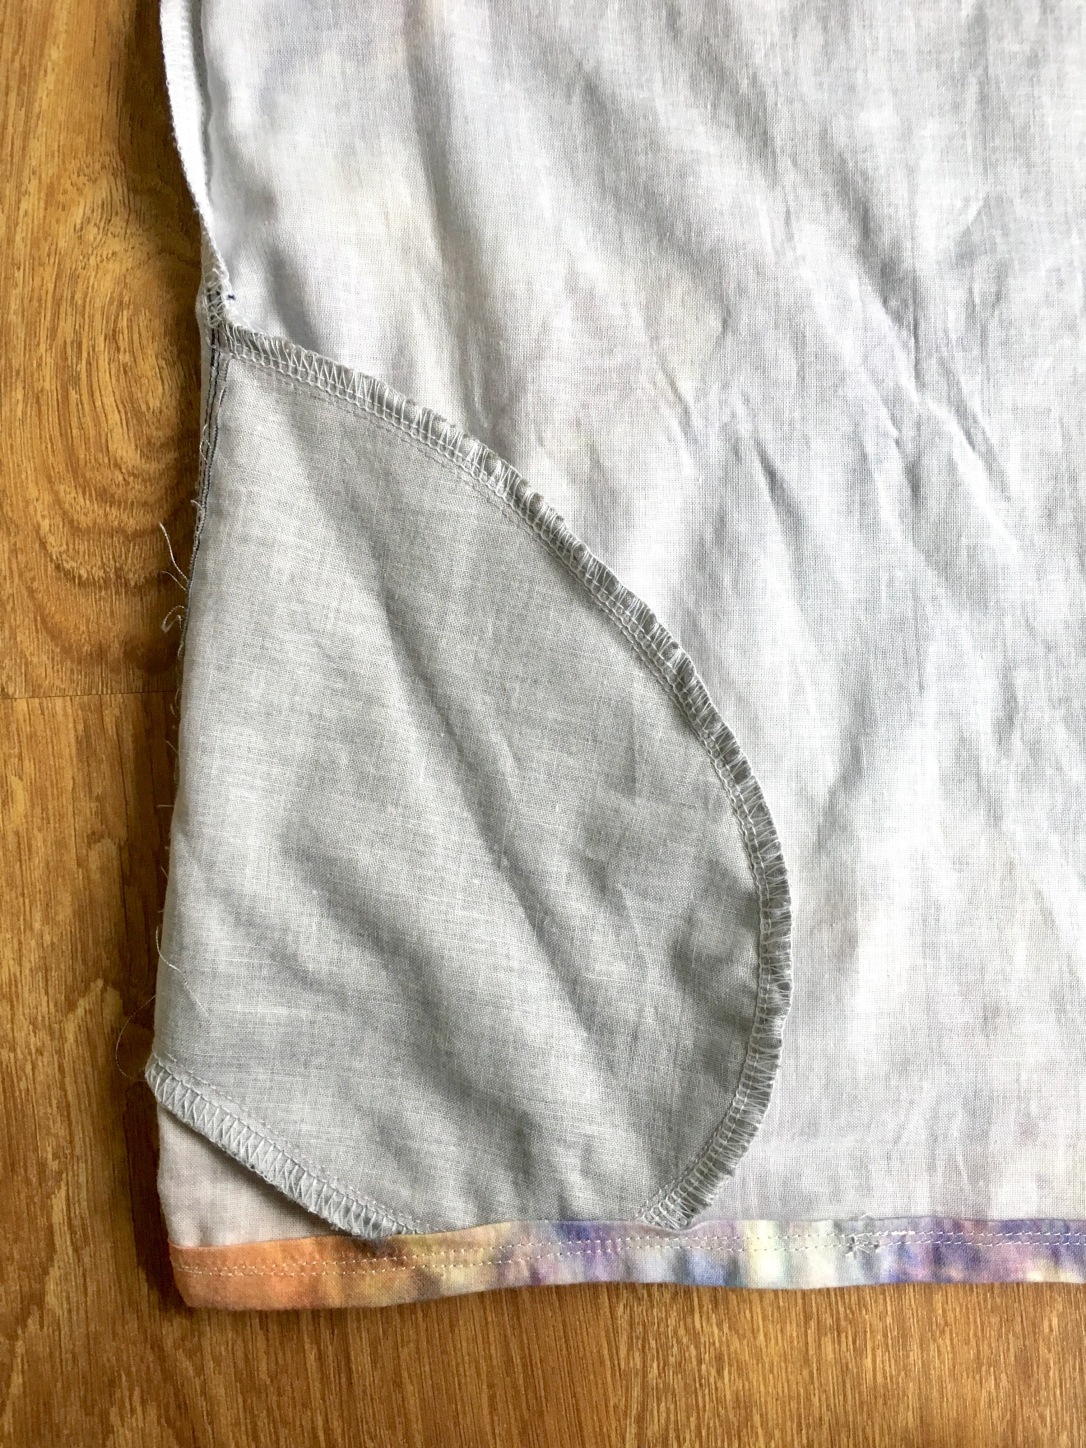
As a little treat to myself I decided to add pockets to this top, even though they’re really only supposed to go in the dress version. It was actually a really simple hack to do – I cut out the pocket pieces and inserted them into the side seams about 2″ above the hem. Then when it was time to hem the bottom of the blouse, I just tucked the bottom edge of each pocket into the hem and sewed through all layers. This means that no matter what I put in my pockets, they won’t sag out the bottom of the garment (no-one wants to see that!). Hurrah!
So, my obvious seam allowance mistake aside, this was genuinely an awesome pattern to make up. It’s different to anything else I’ve seen before – raglan sleeves? Yes please! Sailor collar? Hell yeah! Supporting a delightful indie pattern house? Of course!
Are you thinking of making the Lily blouse or dress? Be sure to tag your posts with #LilyBlouse and/or #LilyDress so Ana can see all your wonderful creations.
Here are some photos of the finished garment….


Thanks so much Becky for such a lovely post!!! ❤
LikeLike